Learn how to make a Tahitian flower crown
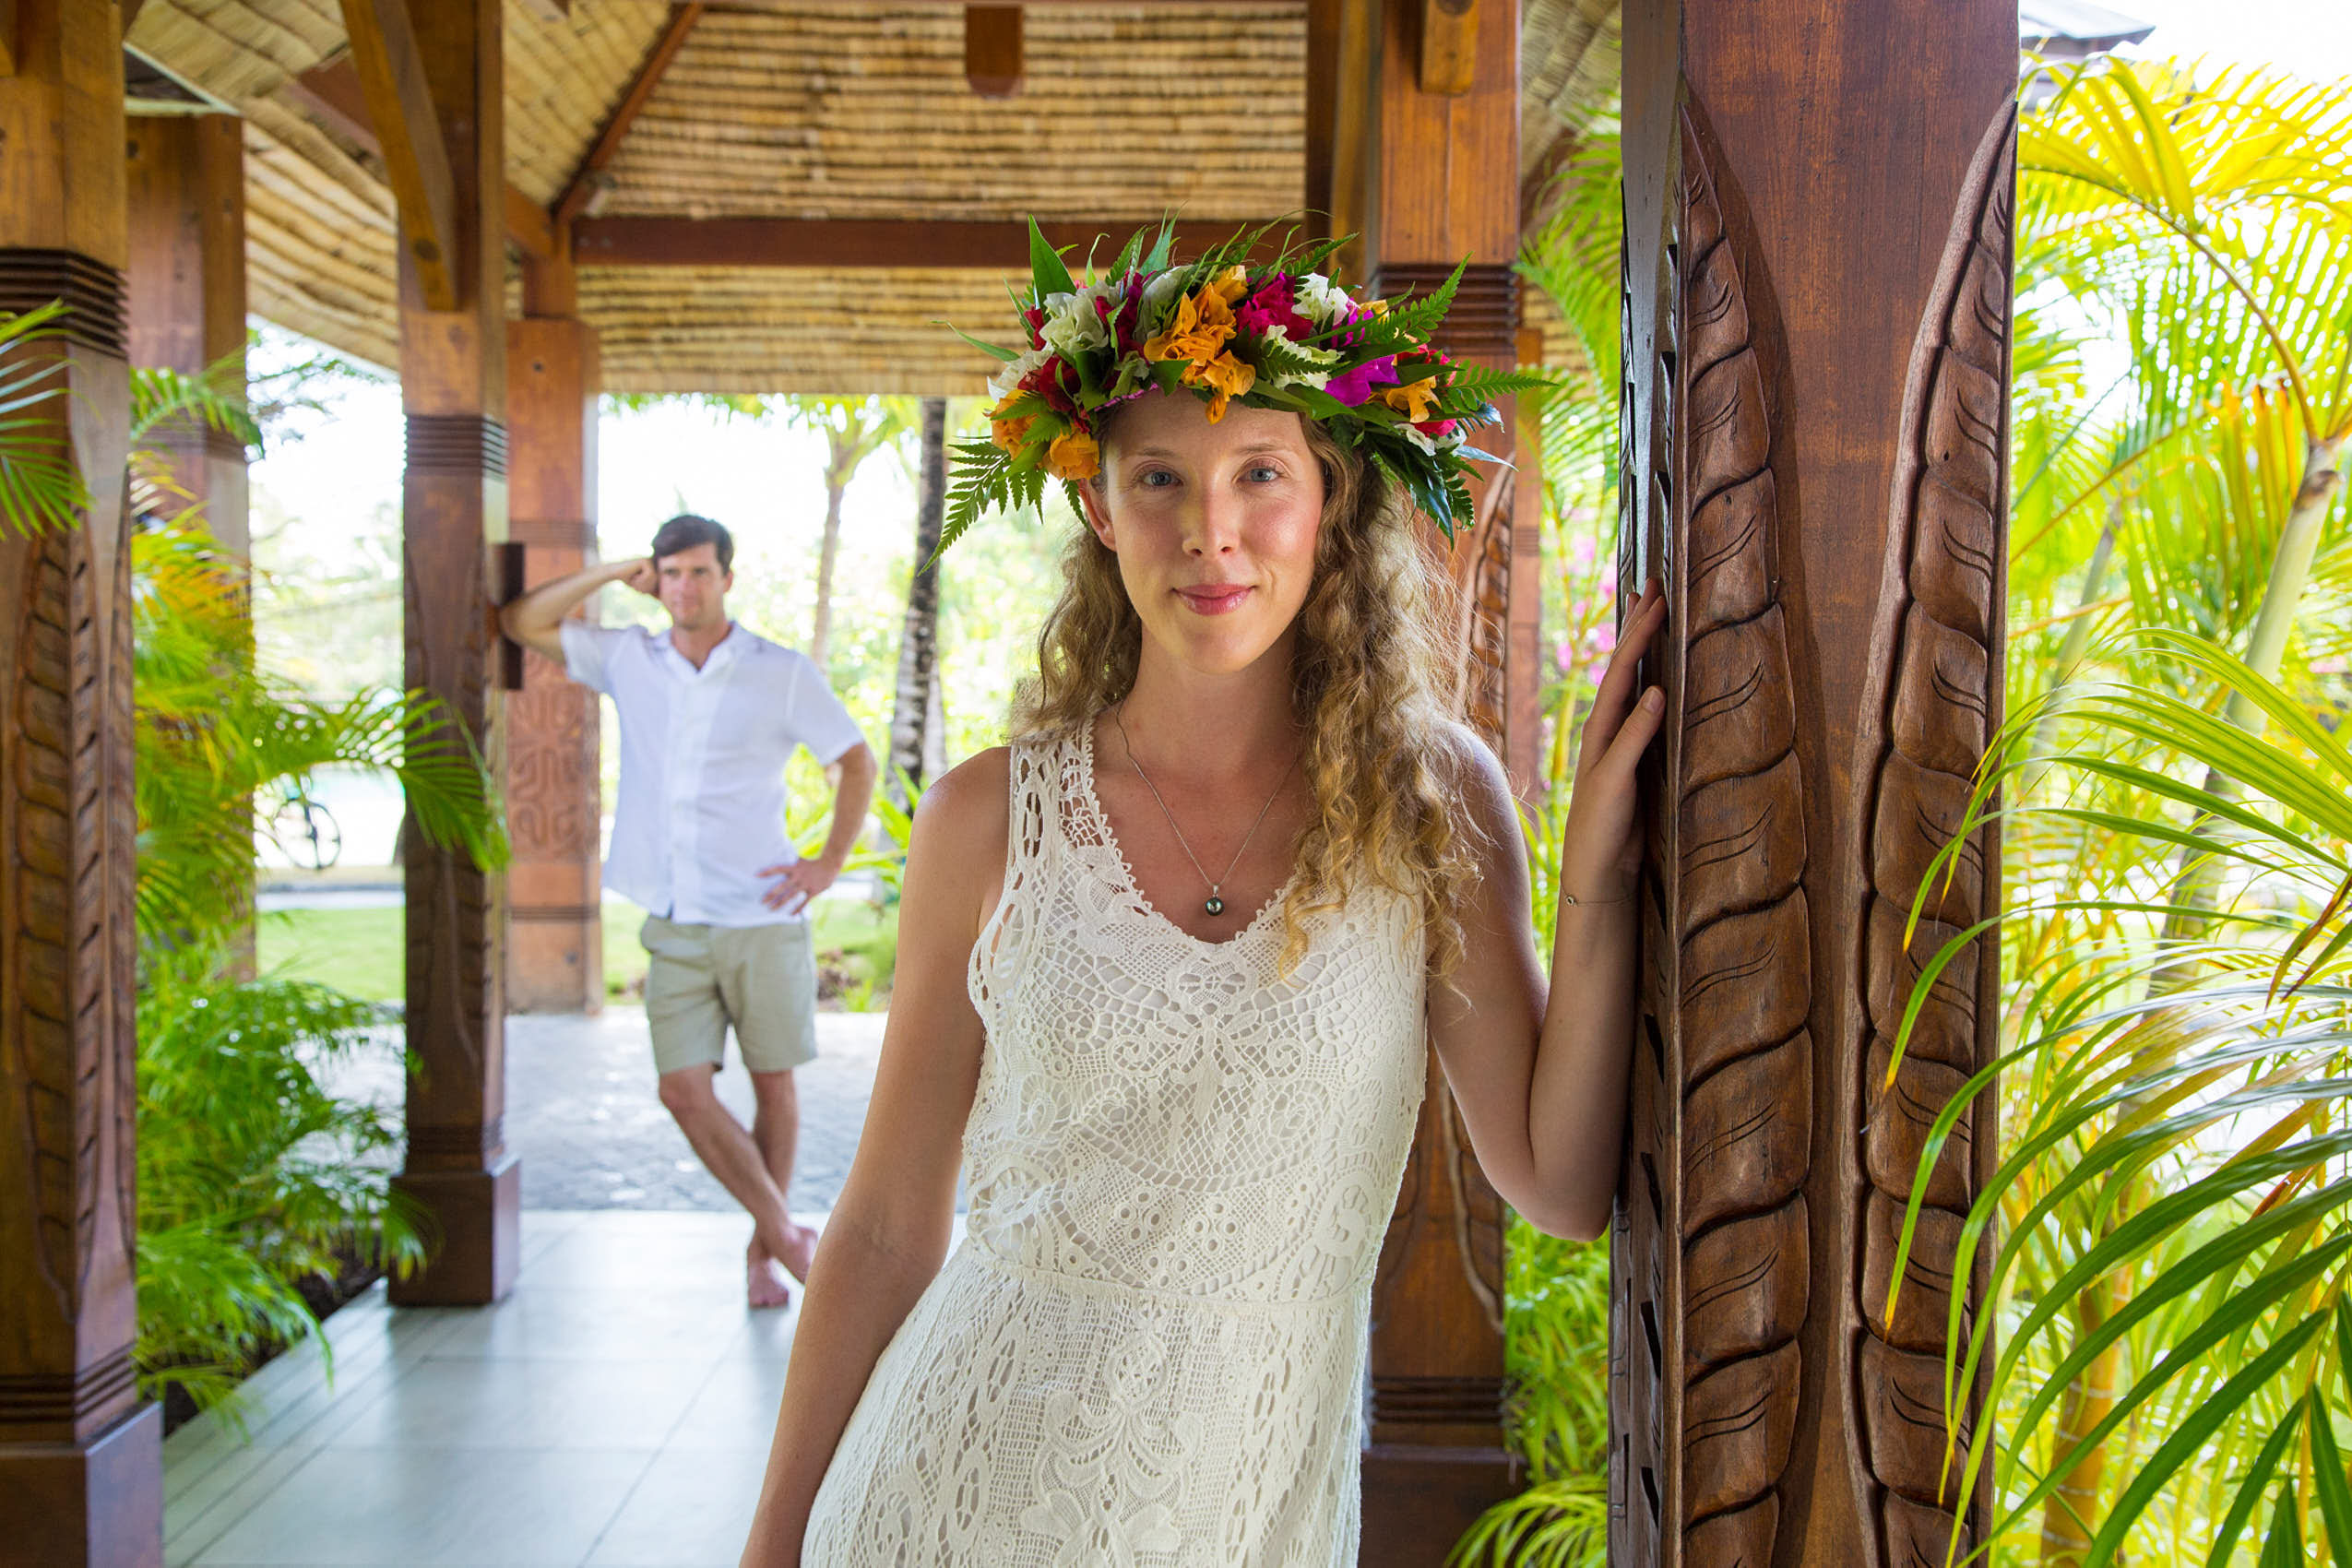 Photo by Bora Bora photographer Stephan Debelle
Learn how to make a Tahitian flower crown and you can create beautiful, wearable art from fresh flowers - in only an hour! Tiare, hibiscus, and frangipani are the flowers of Tahiti most often used by islanders when they make a Tahitian flower crown. But you can choose any local flowers you love or think stylish.
Plan your design with flare. Form a pattern with different types of flowers or make a feature of some
larger blooms. The color scheme can be analgous or complimentary; bright or all white. You can chose
colors that suit the occasion - e.g. red, white and blue for 4th of July or Australia day.
In Tahiti, the more important the occasion, the more flowers the Polynesians use to make a flower crown.
Back home you may not want such a bold statement. So, for those wanting an elegant – simply sensational –
look, we’ve also included instructions on how to make a flower crown to adorn the front half of a head.
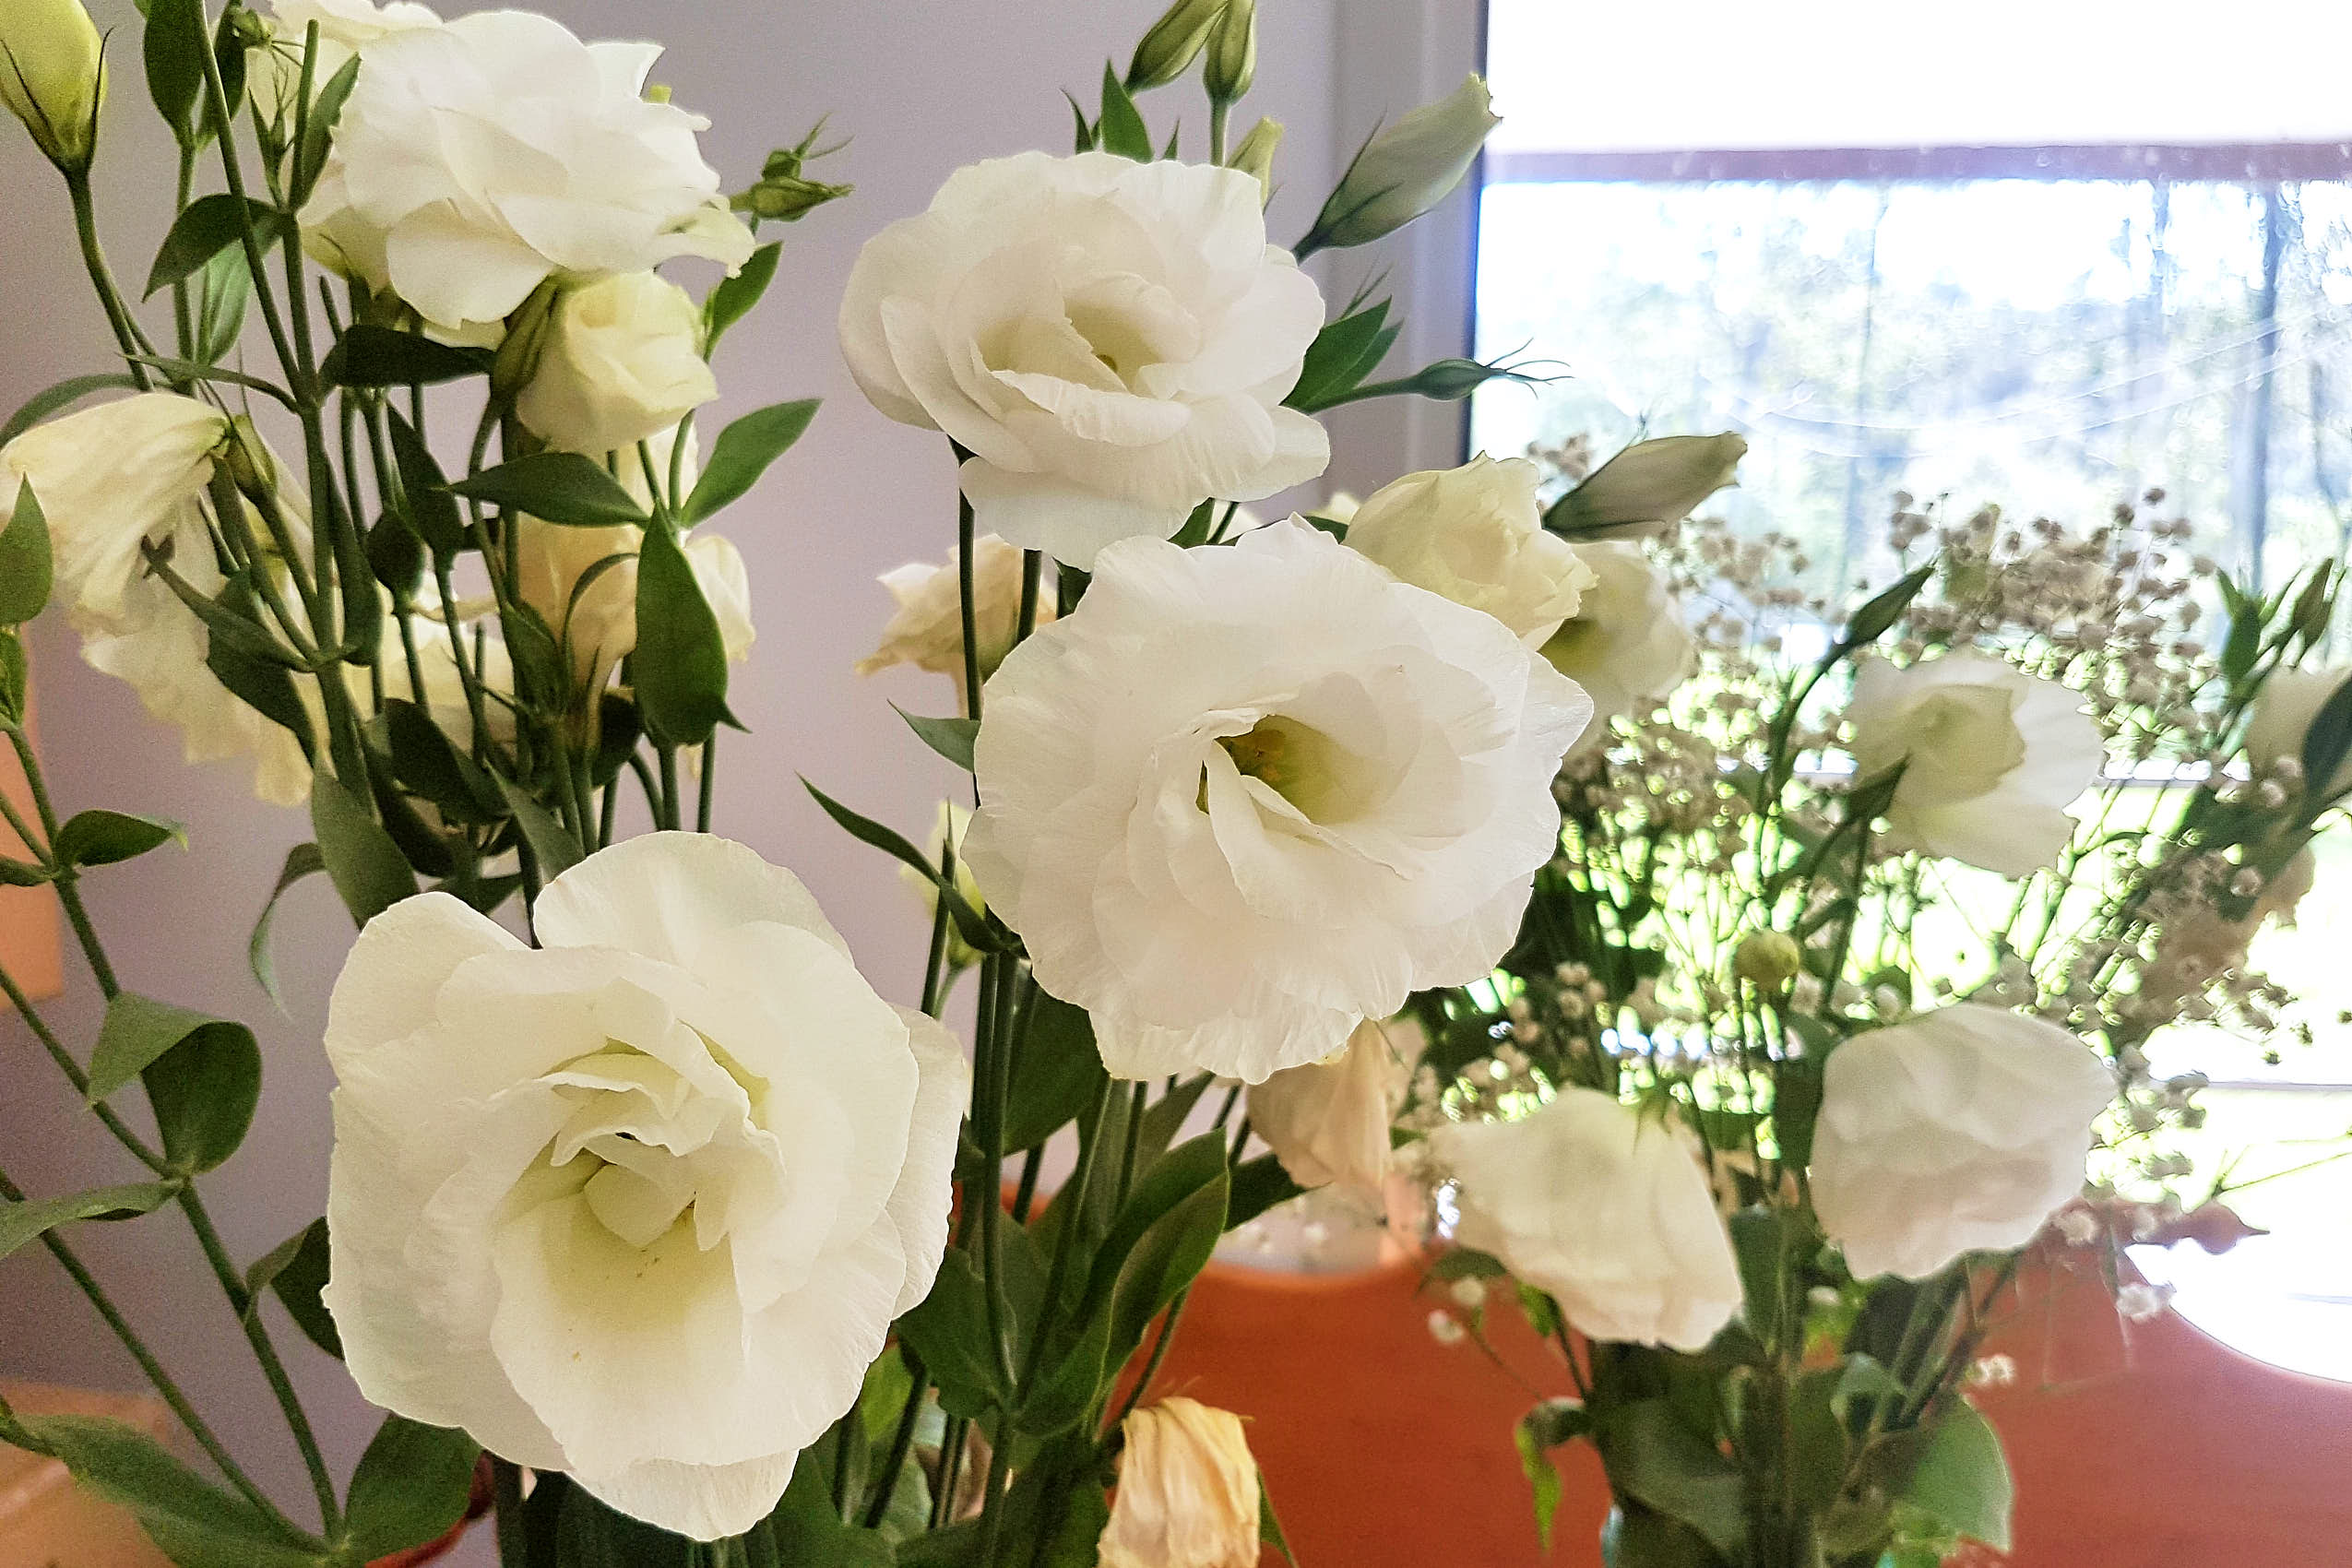
What you need to make a Tahiti flower crown
- a variety of fresh flowers; including a filler like baby’s breath, wax flower, or green foliage
- florist wire or a headband
- green florist tape
- ribbon (if making a half crown)
- wire cutters
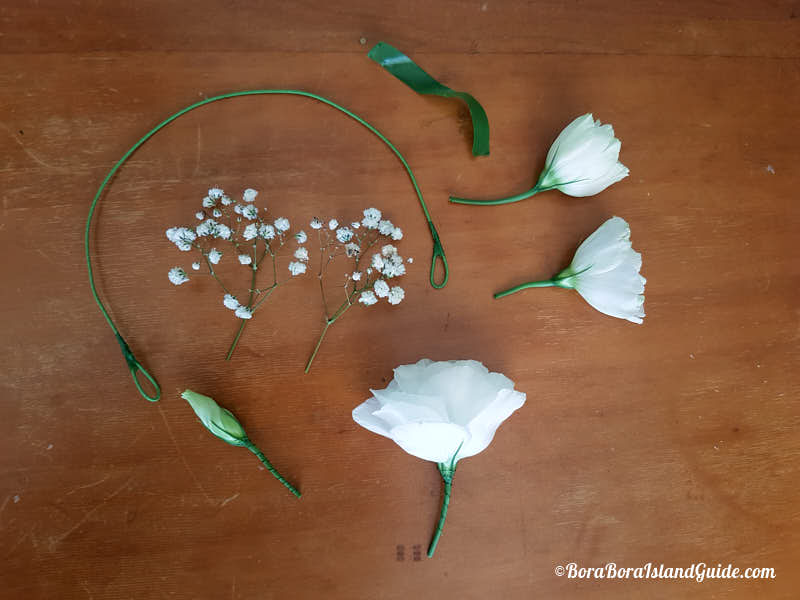
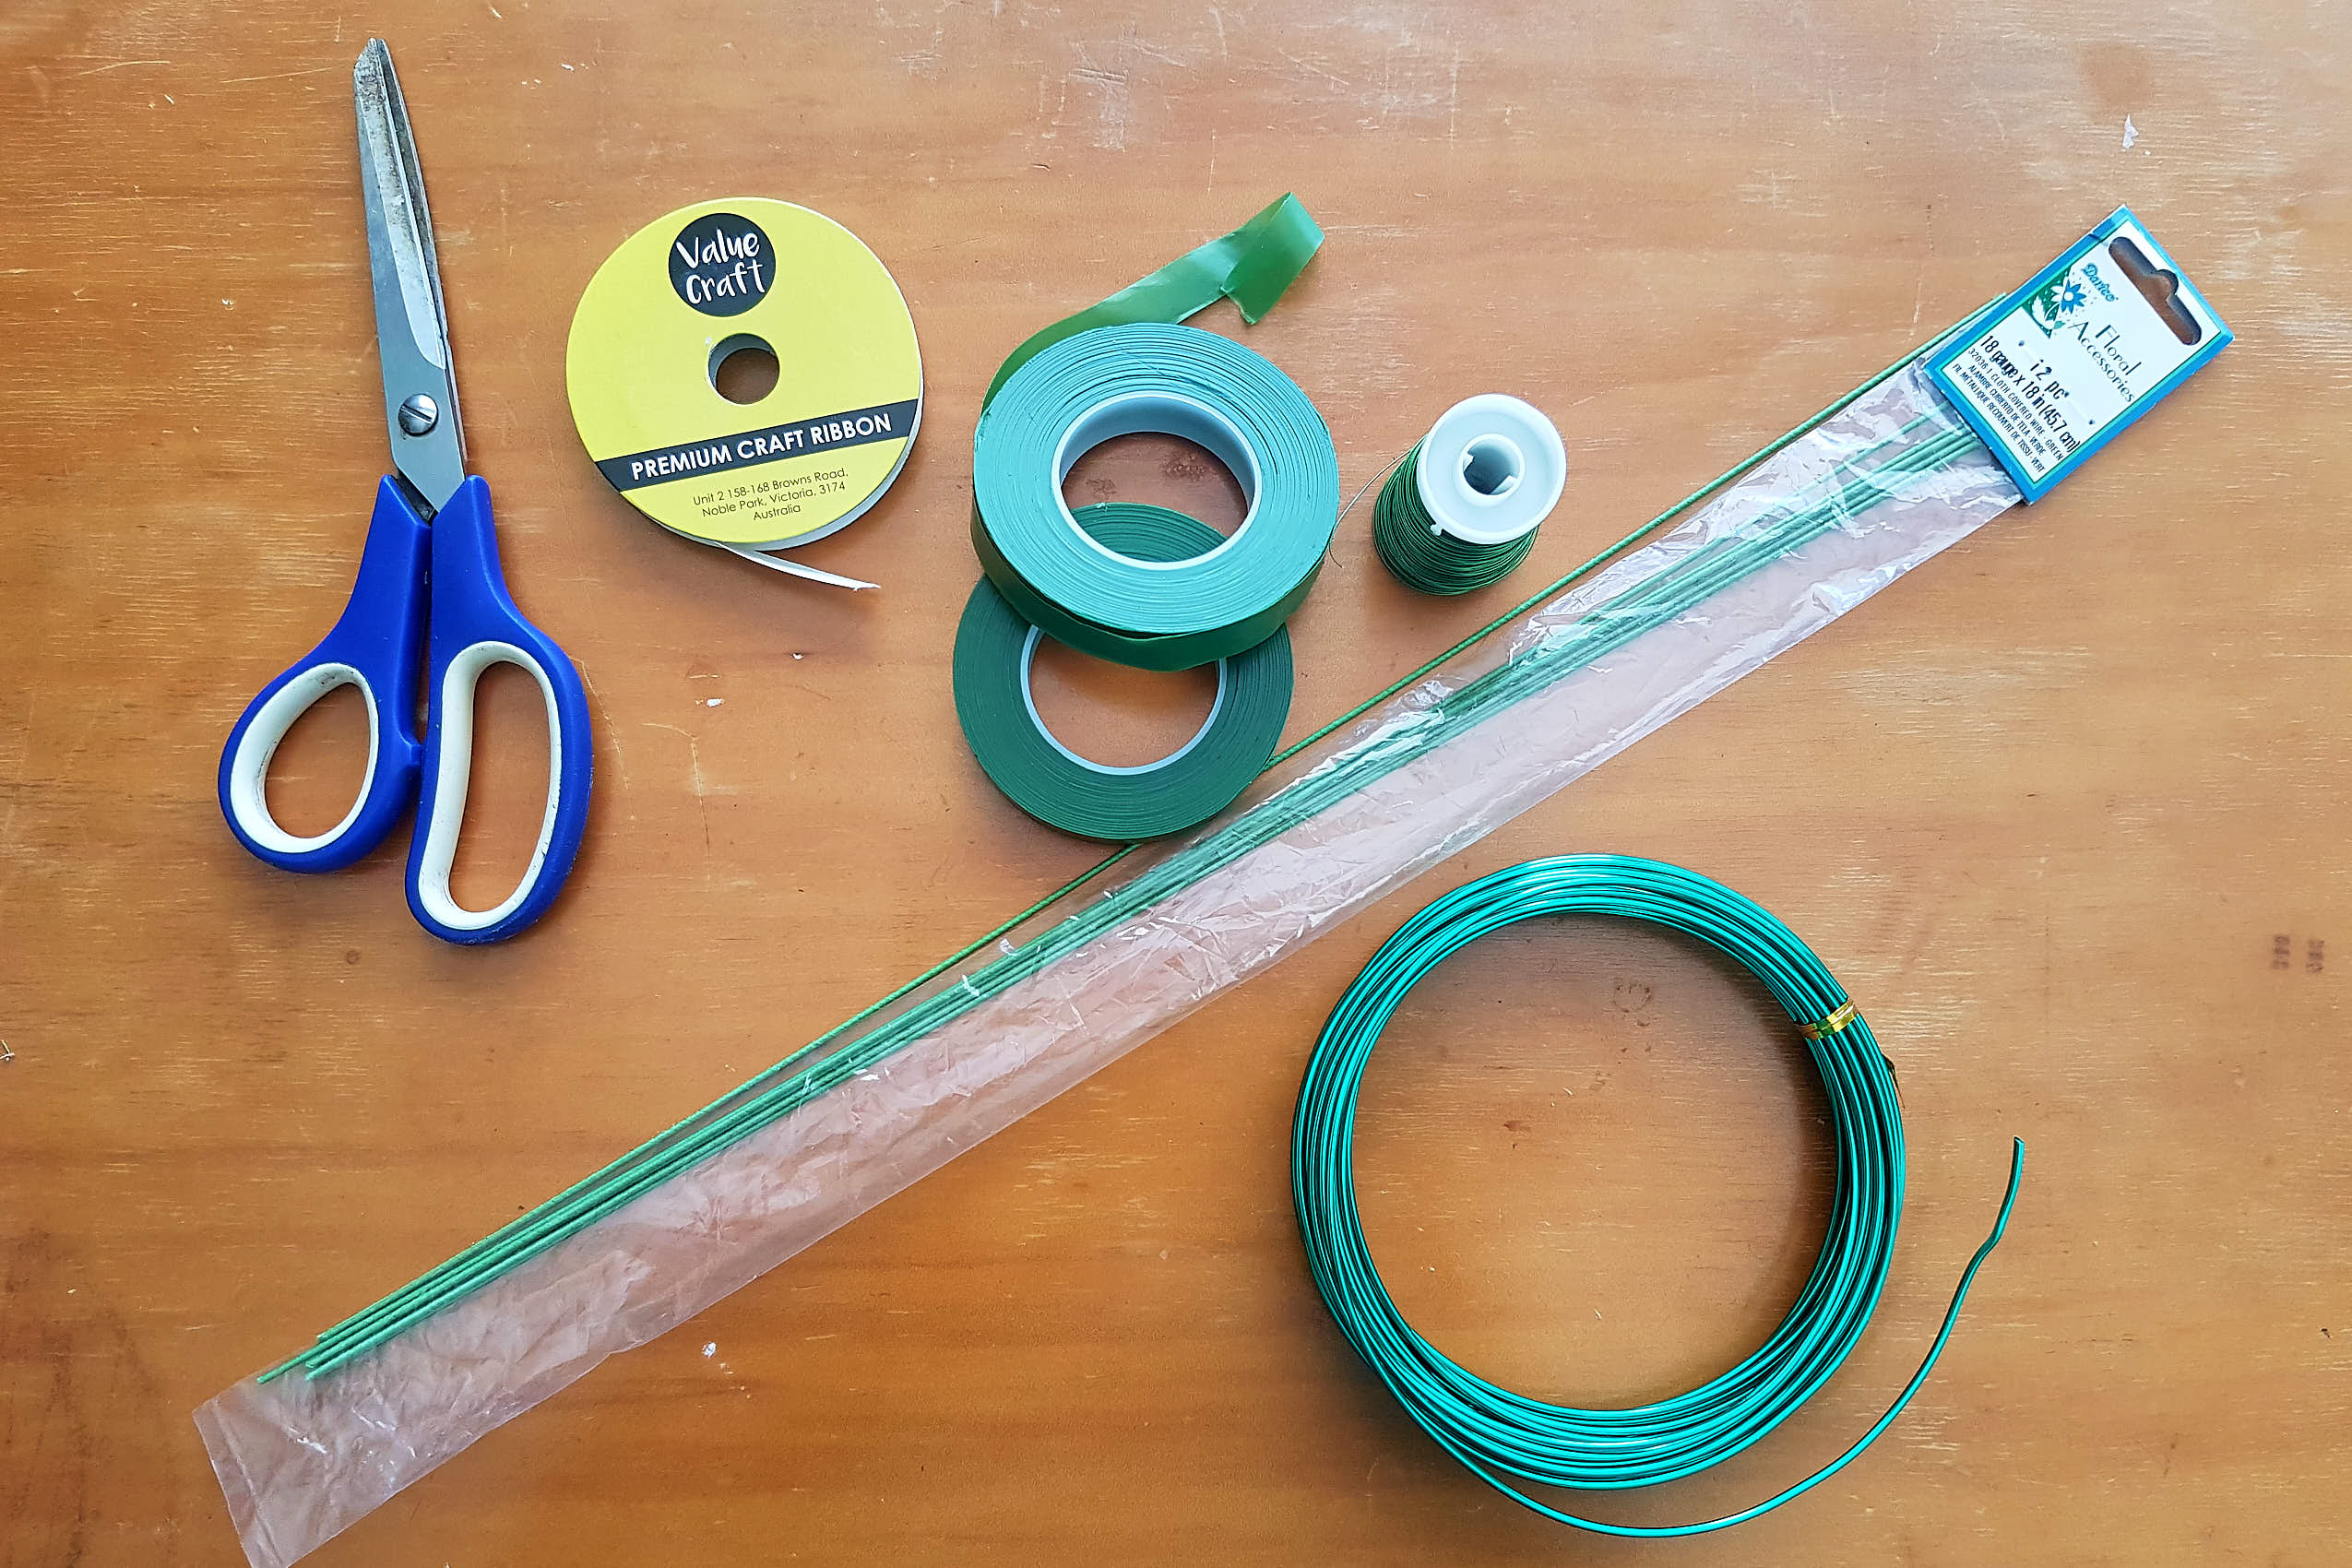
Follow these easy steps to make a flower crown
How to make a flower crown which ties at the back of the head
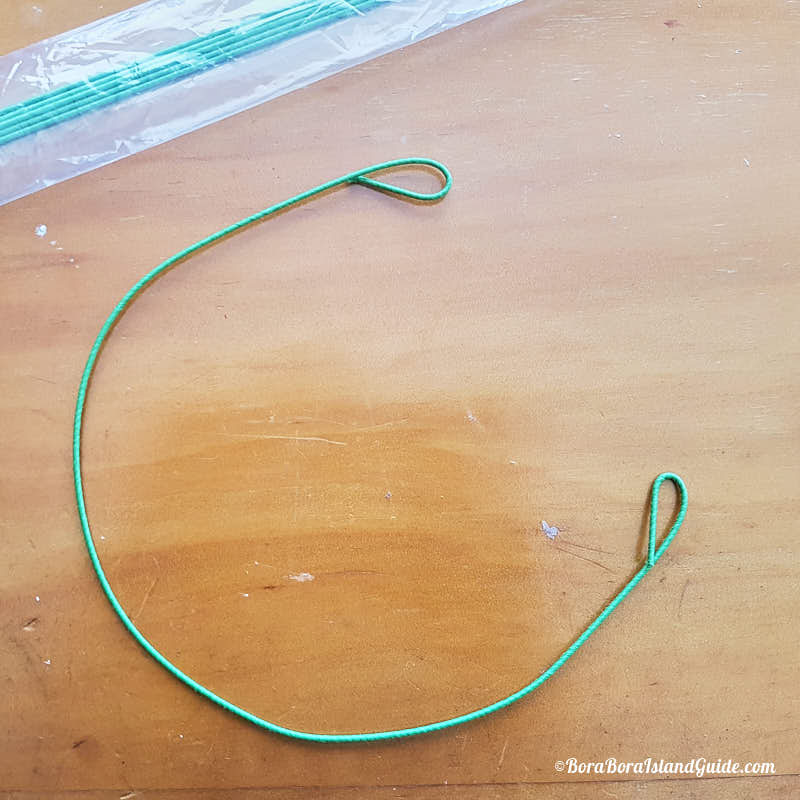 Step 1Use a piece of pre-cut florist wire or cut a piece of wire to the length you desire. Bend each end of the wire to form small loops for attaching ribbons later. |
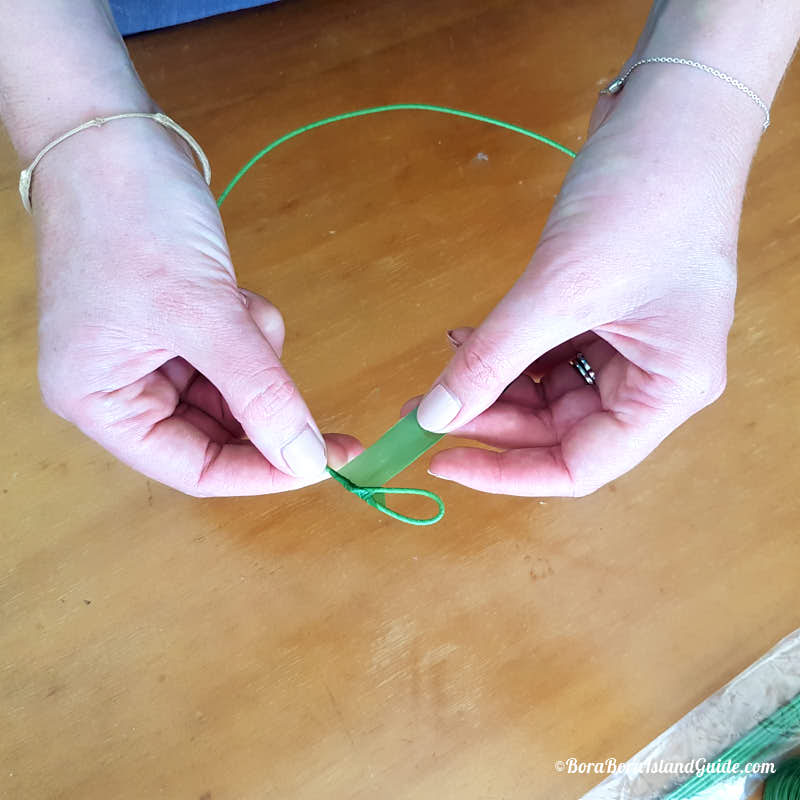 Step 2Tear off a piece of florist tape about 3" (6cm) long. Wrap it around the join to neaten. |
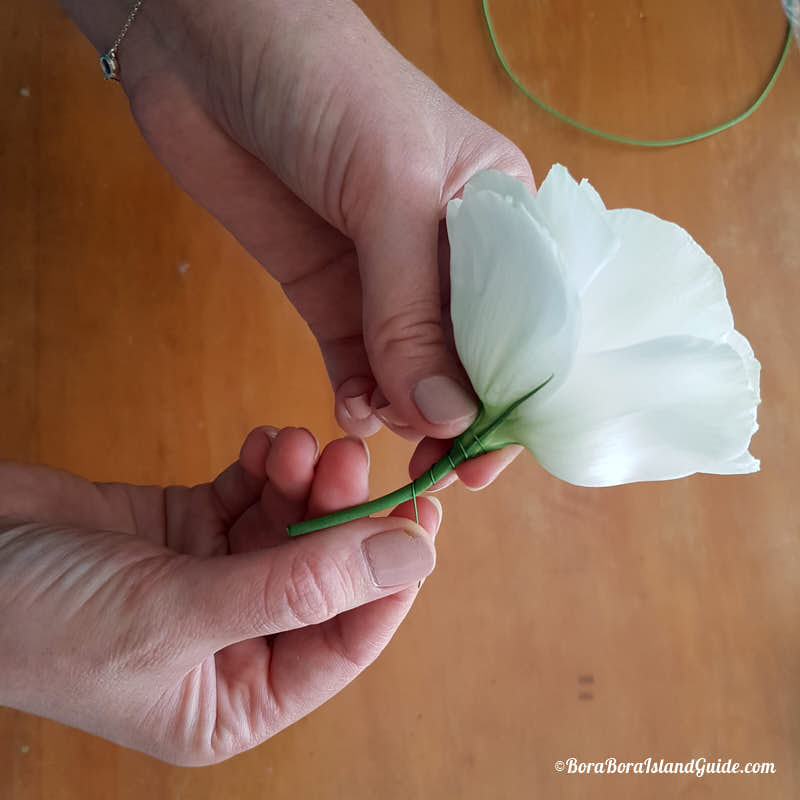 Step 3Cut flower stems to about 2 inches and wind a piece of wire around each stem to strengthen it. |
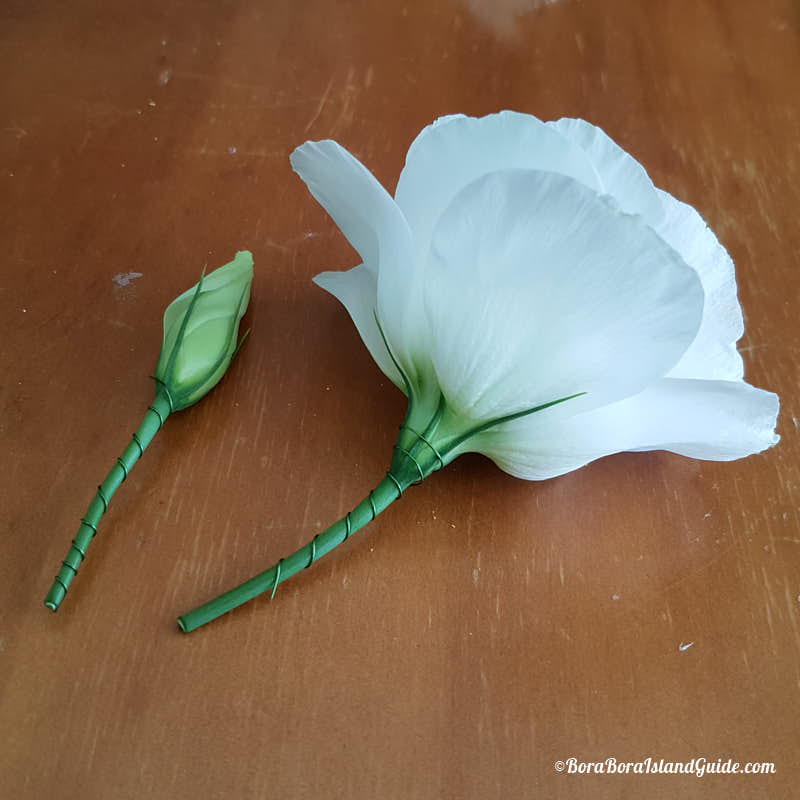 Step 4Lay the prepared flowers out on the table in the order you wish to attach them to create a design. |
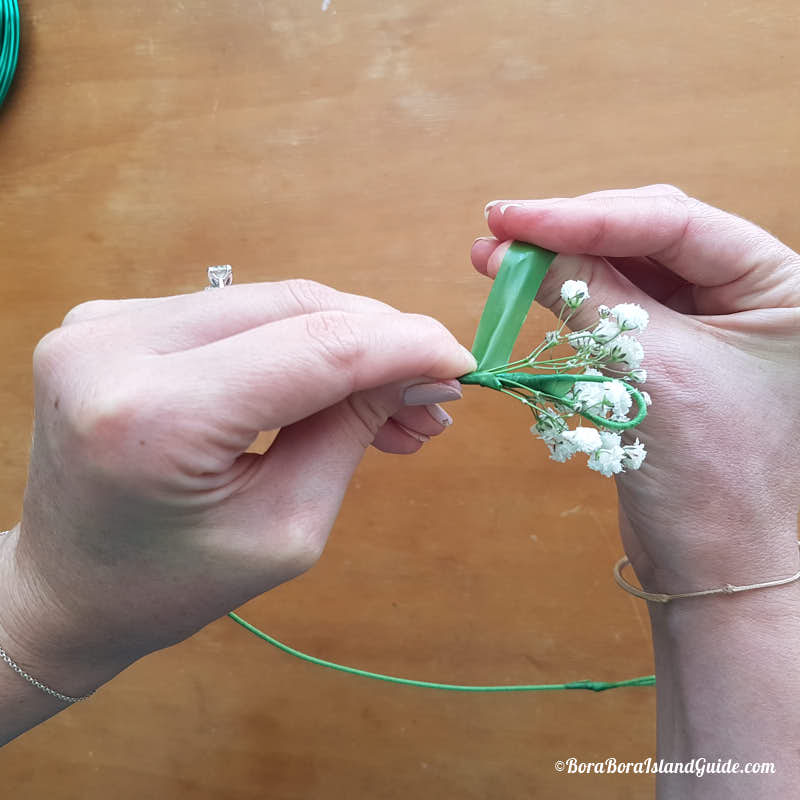 Step 5Tear off a piece of tape. Begin at one end, holding the first flower facing upwards and outwards while wrapping tape firmly around the stem and wire. |
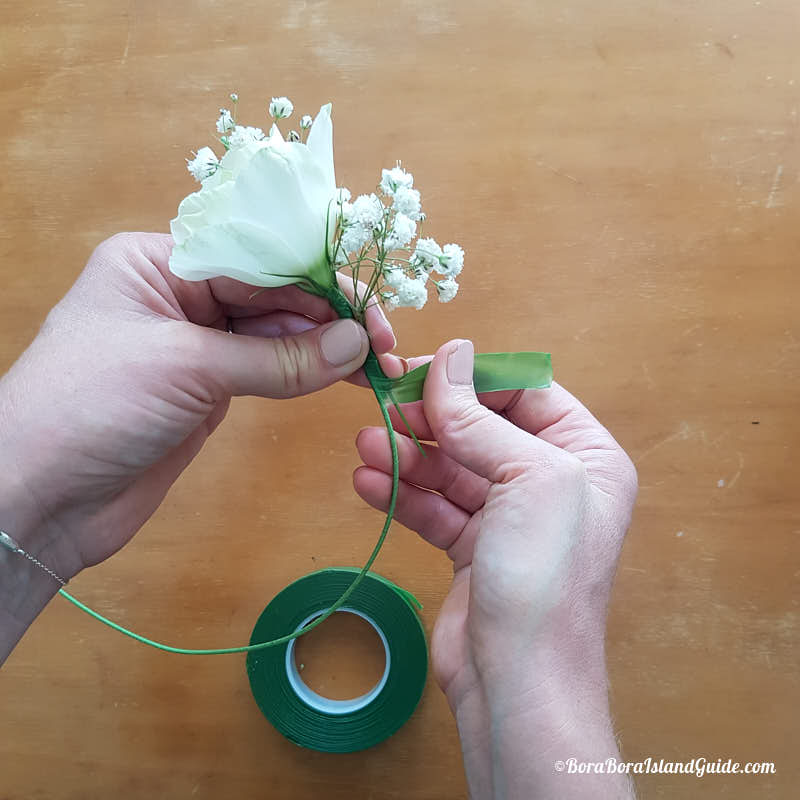 Step 6Hold the next flower alongside, with the bloom over the secured stem of the previous flower. Tape it tightly to the wire, beginning to form a pattern. |
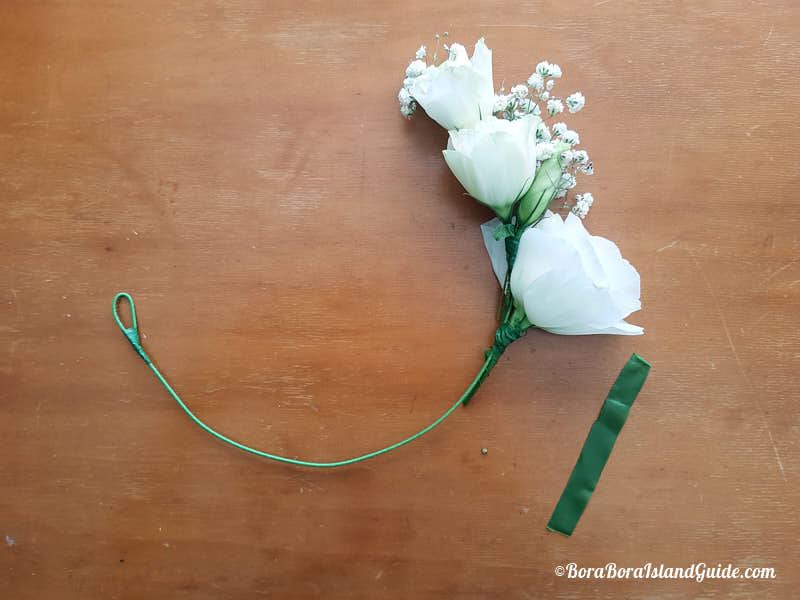
Complete the crown by continuing to overlap each flower above the stem of the previous bloom. Remember to face all the flowers in the same upwards direction, while continuing your planned pattern or design.
How to make a Tahitian flower crown which circles the head
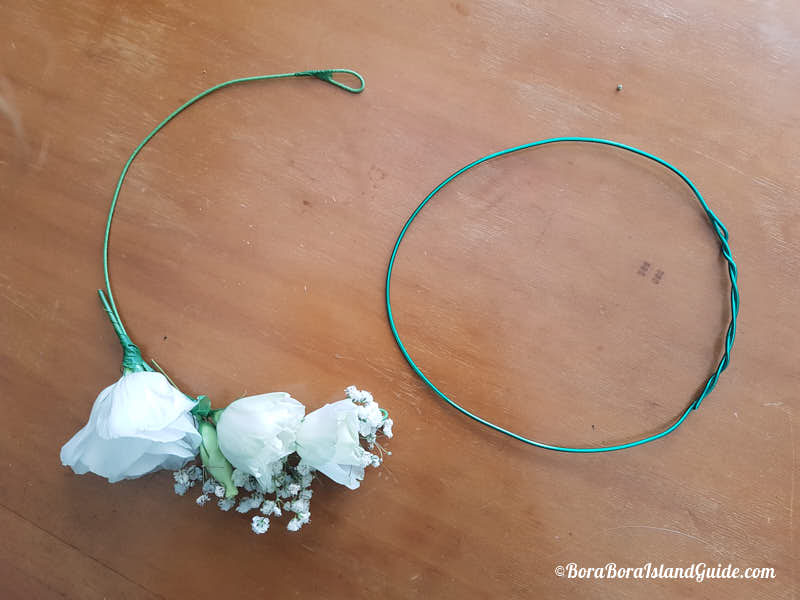
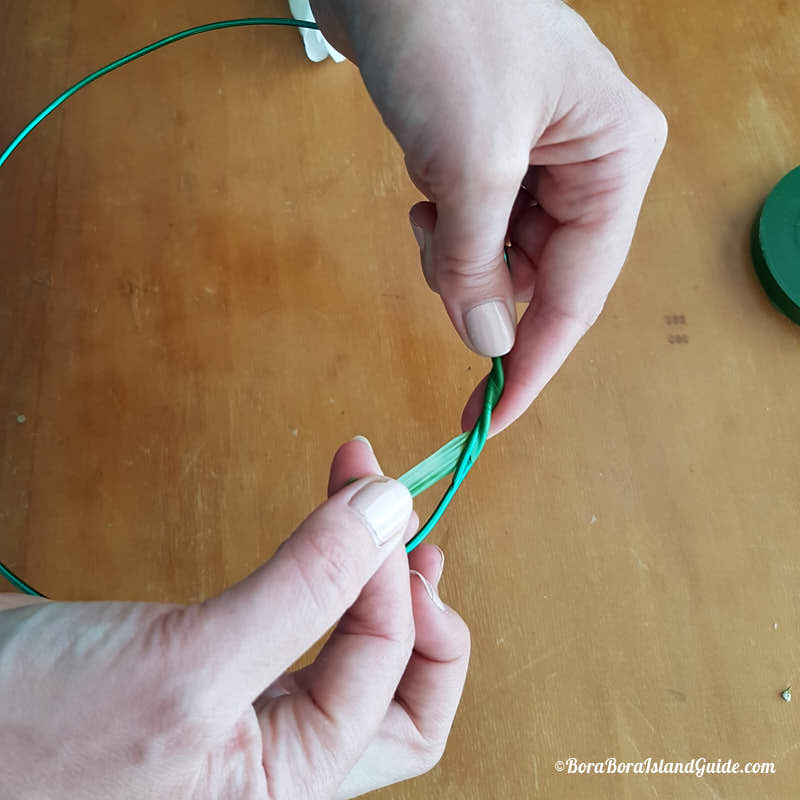 Step 1Place the floral wire around your head to measure the length you need. Add a few extra centimeters for the join and then cut the wire. |
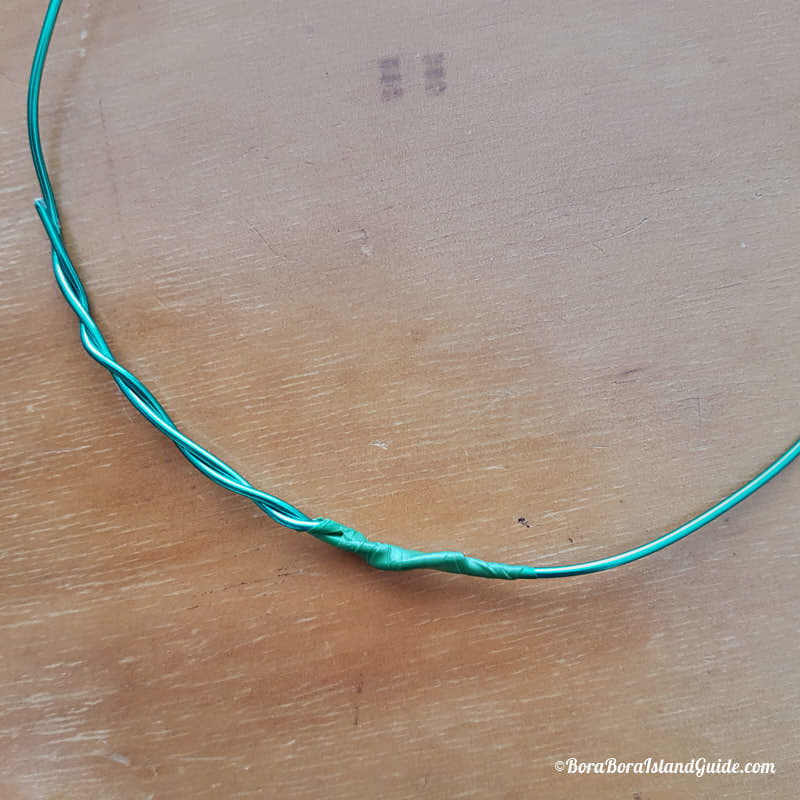 Step 2Shape the piece of wire into a circle, overlapping the extra centimeters. Then twist the 2 ends securely |
Now you're ready to attach one flower (or sprig of filler) at a time with a piece of florist tape. Follow the above instructions on how to make a flower crown that ties at the back . Make sure that you place each bloom above the stem of the previous one, to give fullness and hide the taped-on stems.
Why learn how to make a Tahitian flower crown?
- When you know how to make a Tahitian flower crown, it’s easy to create one in an hour. You’ll have a stunning head-dress that’s unique, for a very affordable price, even if you buy exclusive flowers. If you pick the flowers carefully, it will only cost a few dollars to make a floral headpiece.
- French Polynesians wear intricate flower crowns for weddings, ceremonies, and dance performances. But, they don’t limit their love of flower crowns to special occasions. In paradise Tahiti flowers bloom all around. Just being alive is a reason to make a Tahiti flower crown!
- My love for the Tahitian flower crown has blossomed over the years so my bridesmaids and I learned how to make a Tahiti flower crown. We each made a white one, while at the hair salon before my beach wedding, and wowed the guests. Flower crowns are regal and romantic at outdoor weddings.
Search the Site
Are you still looking for additional information? You can use the Google search box below to search the site.
Site Sponsors
Subscribe to receive free Bora Bora updates
Top Tours
Photo of the day
All of us at Bora Bora Island guide love to have fun, but we also have to keep the site up and running! That's why you'll see ads on this site. We may also earn commissions on some of the products on this site.
The income generated through these means helps ensure
Bora Bora Island Guide can devote the time to providing you
with all the free and fabulous information & resources you'll
find here. If you would like to support us, you can purchase our book full of over 100 pages of money saving tips or find out the best activities, resorts, dining and beaches in our Best of Bora Bora book or buy our 2018 Bora Bora calendar.
Want to learn more? Bora Bora Island Guide invites you to read our advertising disclosure.


New! Comments
Have your say about what you just read! Leave me a comment in the box below.